What We Did
Backyard Demolition and Site Preparation
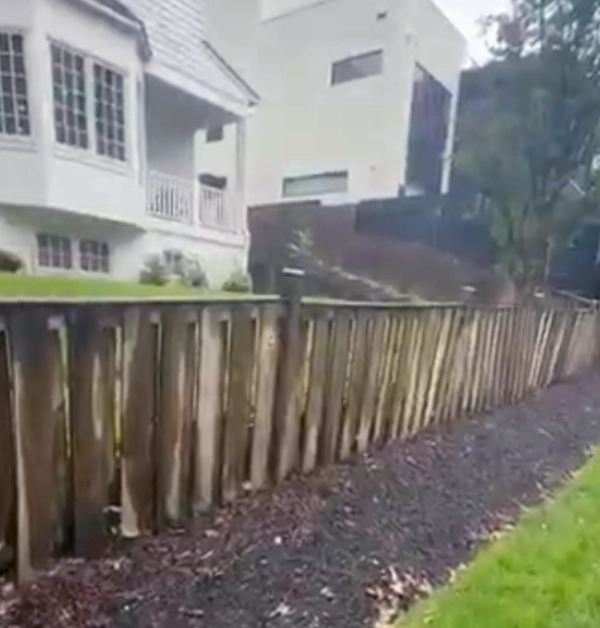
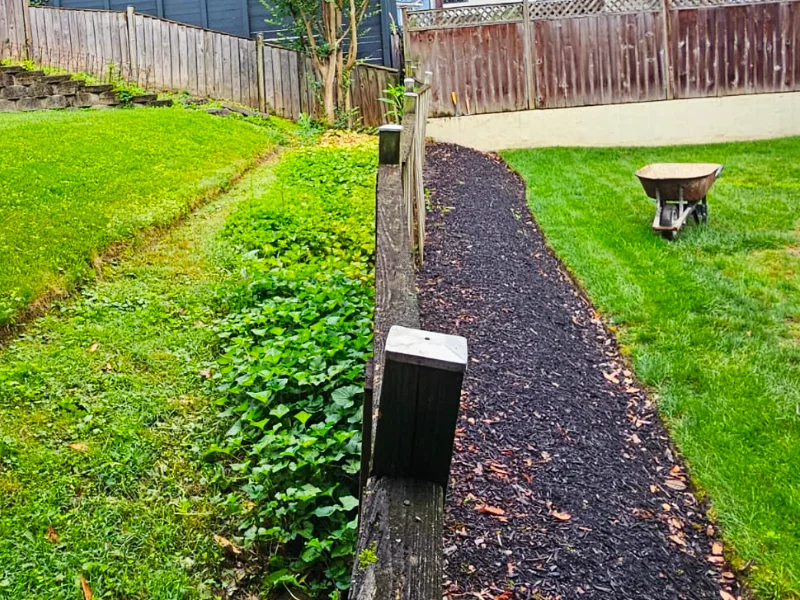
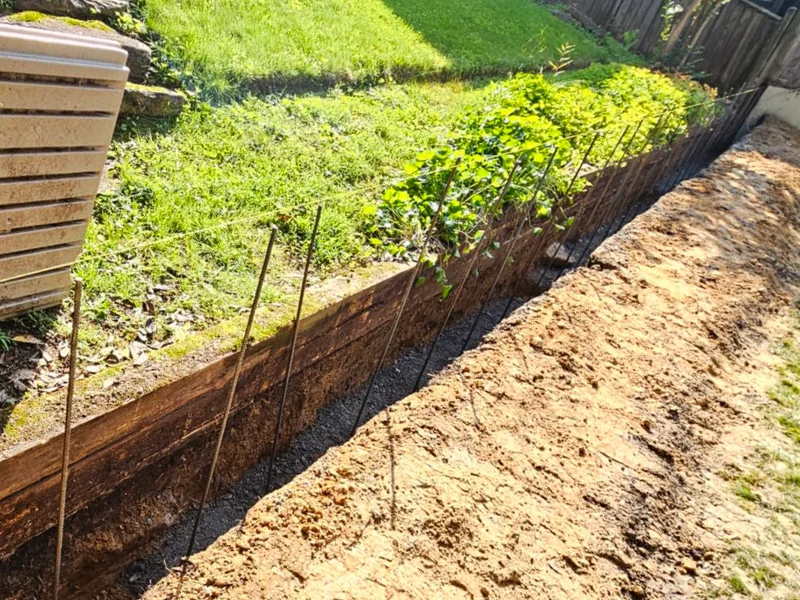
We started by removing sections of the existing rear fence and clearing the work area along the property line so excavation could begin. The original timber retaining wall had reached the end of its useful life, so the new installation required a full rebuild rather than a surface repair.
After demolition, we established layout lines and elevations across the backyard to keep the new wall straight and consistent along the slope. String lines and grade measurements were used throughout the excavation and footing stages to maintain alignment from one end of the yard to the other.
Excavation and Retaining Wall Footing Installation
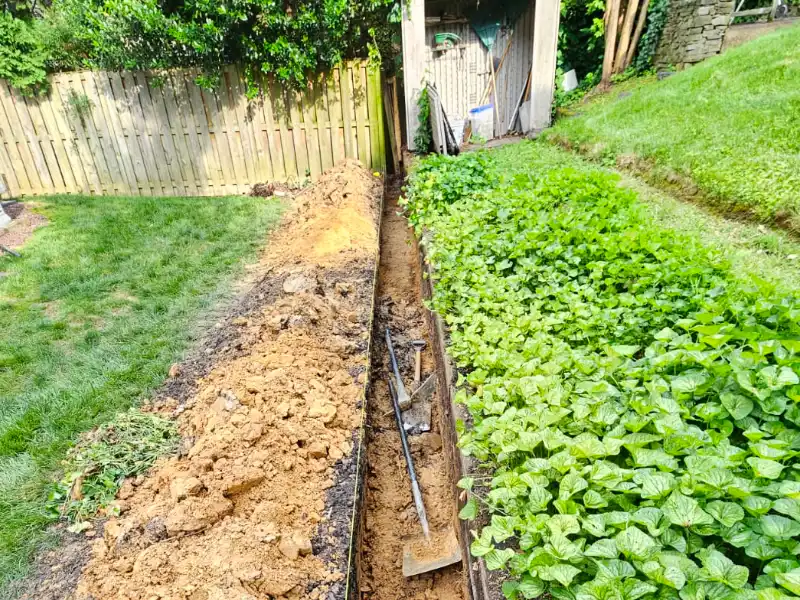
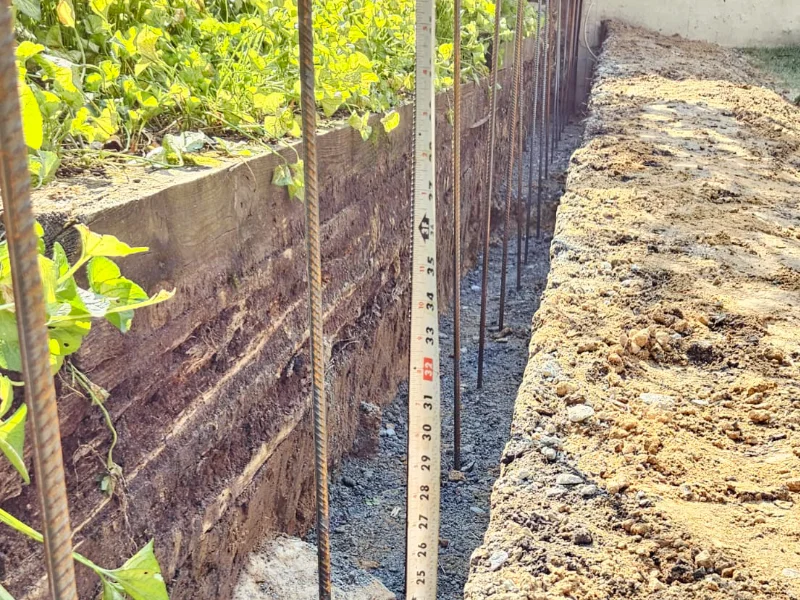
Once layout was complete, we excavated a continuous trench along the rear property line for the new retaining wall foundation. Because the wall would support both retained soil and a fence above it, the footing system needed additional depth and reinforcement for long-term stability.
We installed a compacted gravel base at the bottom of the trench, followed by reinforced concrete footings with vertical #4 rebar placed throughout the wall system. Drainage stone and filter fabric were also incorporated behind the wall to help manage water movement along the slope and reduce pressure buildup behind the structure.
After reinforcement was completed, the concrete footing was poured and prepared for the block installation phase.
CMU Wall Construction and Stone Veneer Installation
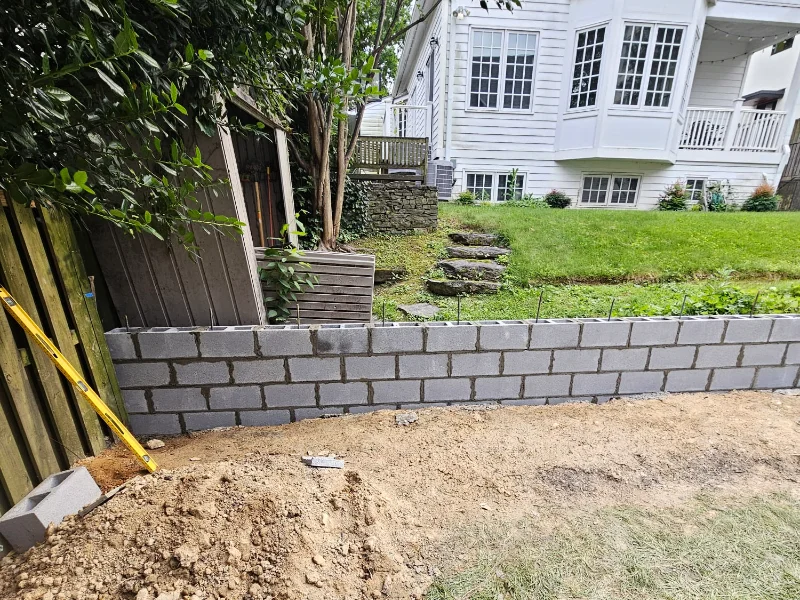
With the footing cured, we began constructing the structural CMU retaining wall across the rear property line. The block wall was built course by course while maintaining level alignment and consistent spacing throughout the length of the yard.
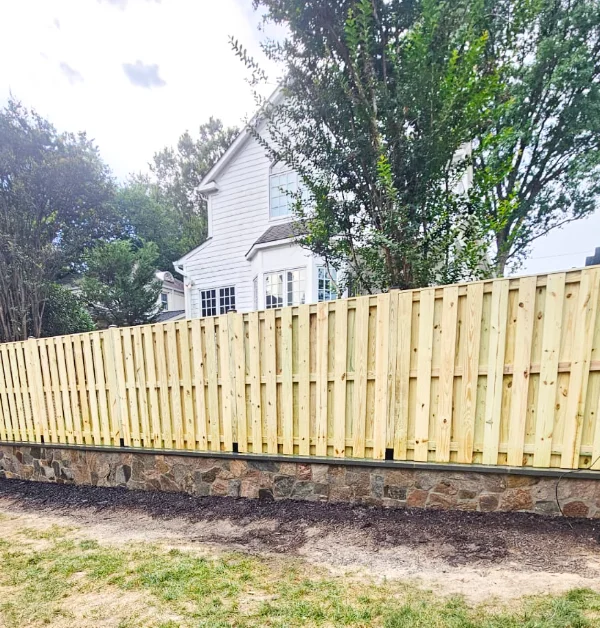
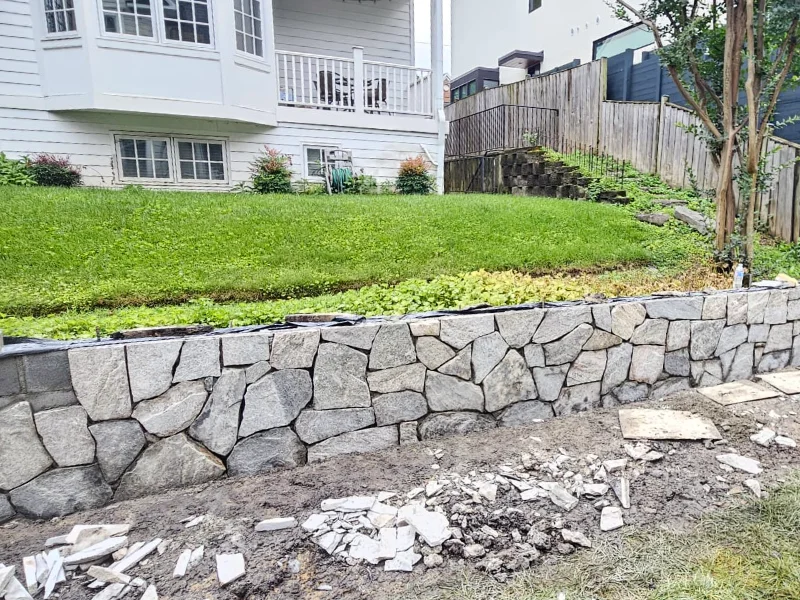
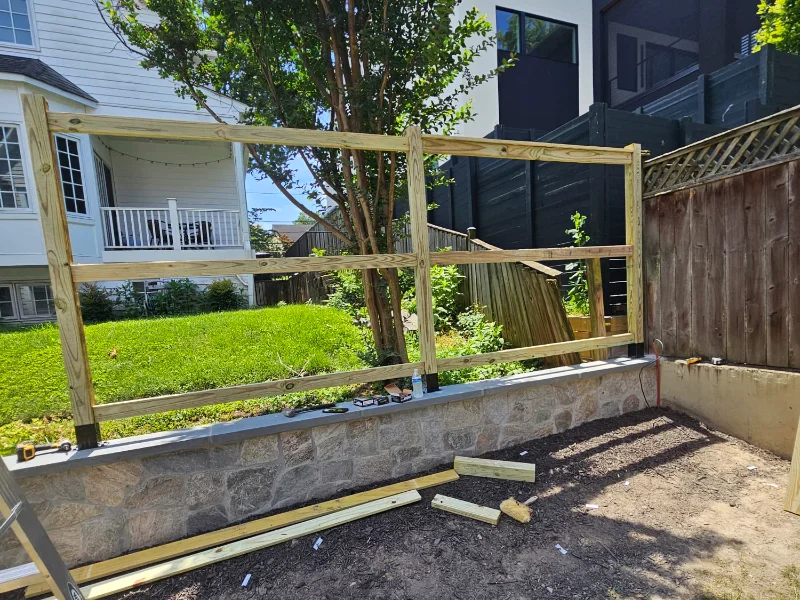
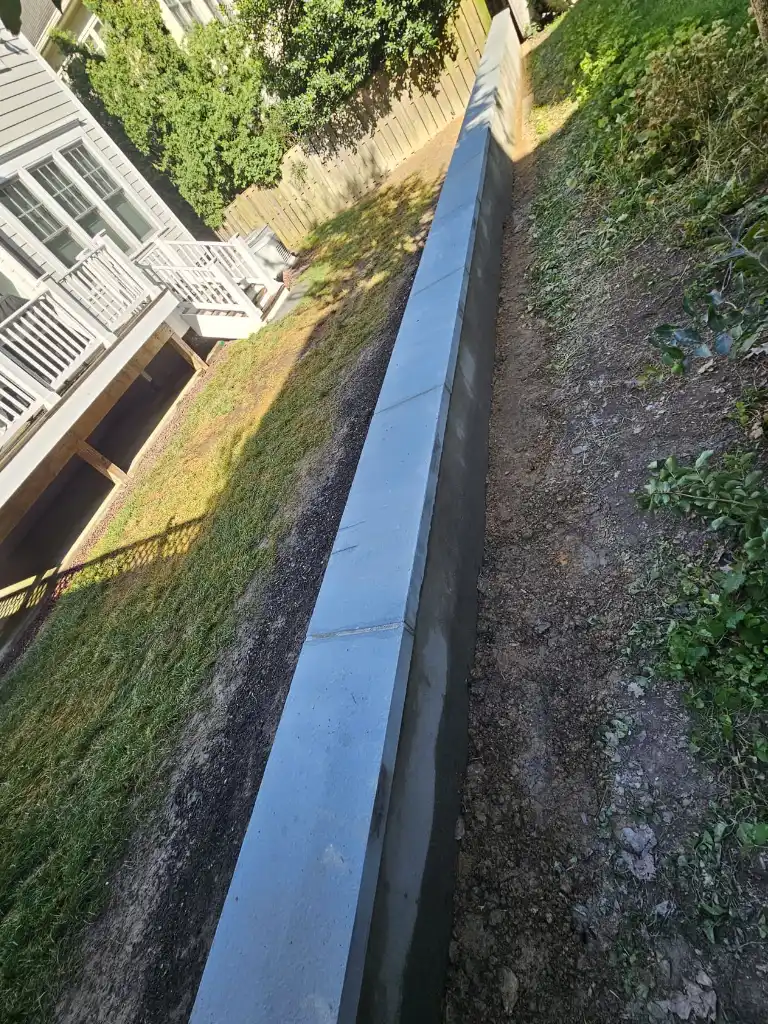
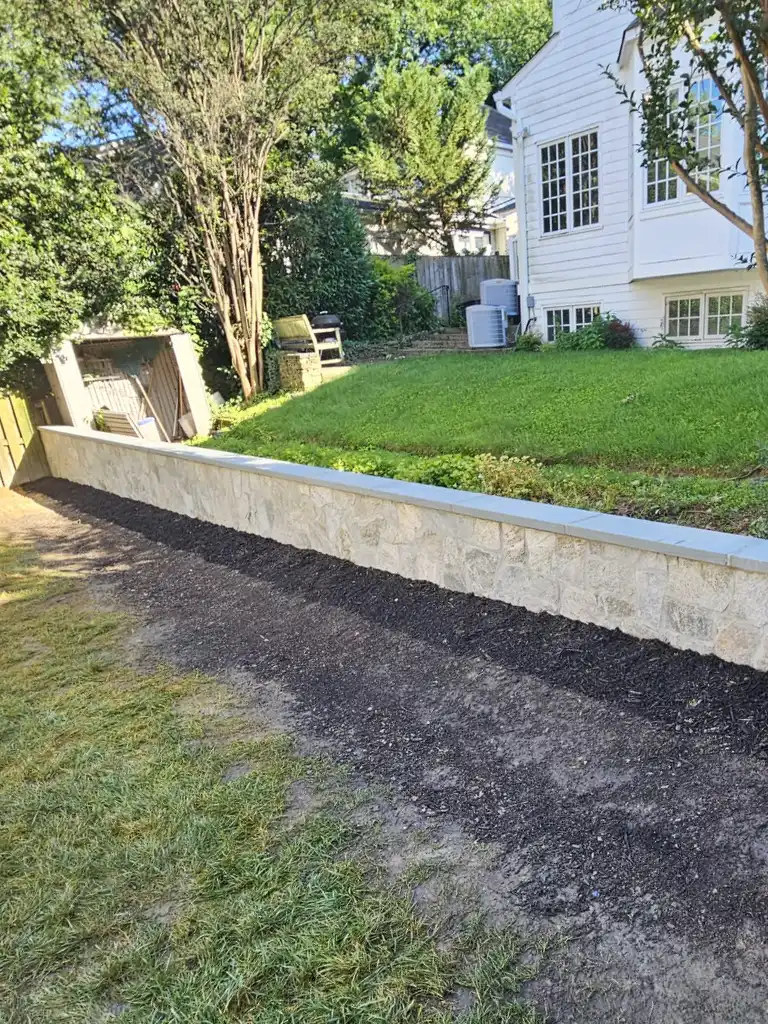
After the structural wall was completed, we applied a stone veneer finish across the exposed face to better match the appearance of the home and surrounding hardscape. The finished wall was then capped with smooth concrete cap pieces that included integrated sleeves for the fence posts above.
The completed wall created a cleaner transition between the lawn and rear property line while replacing the aging timber structure with a more permanent masonry system.
Privacy Fence Installation Above Retaining Wall
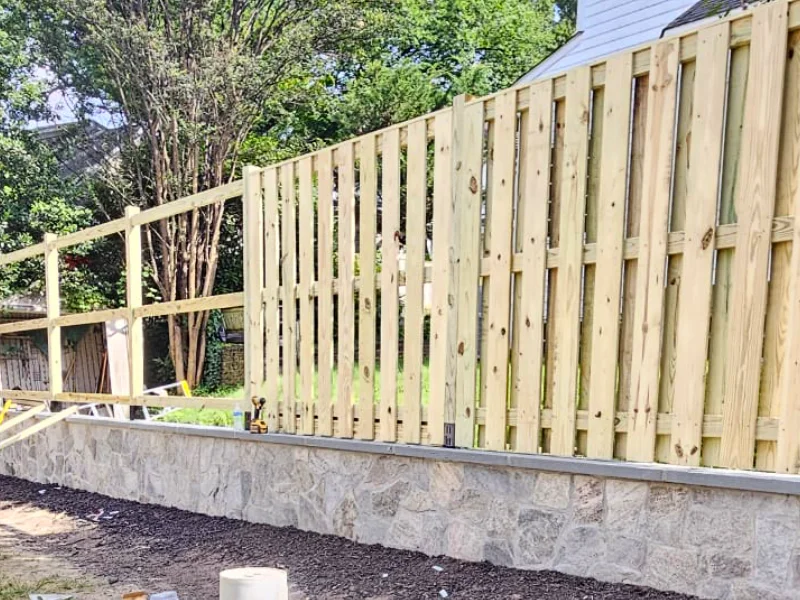
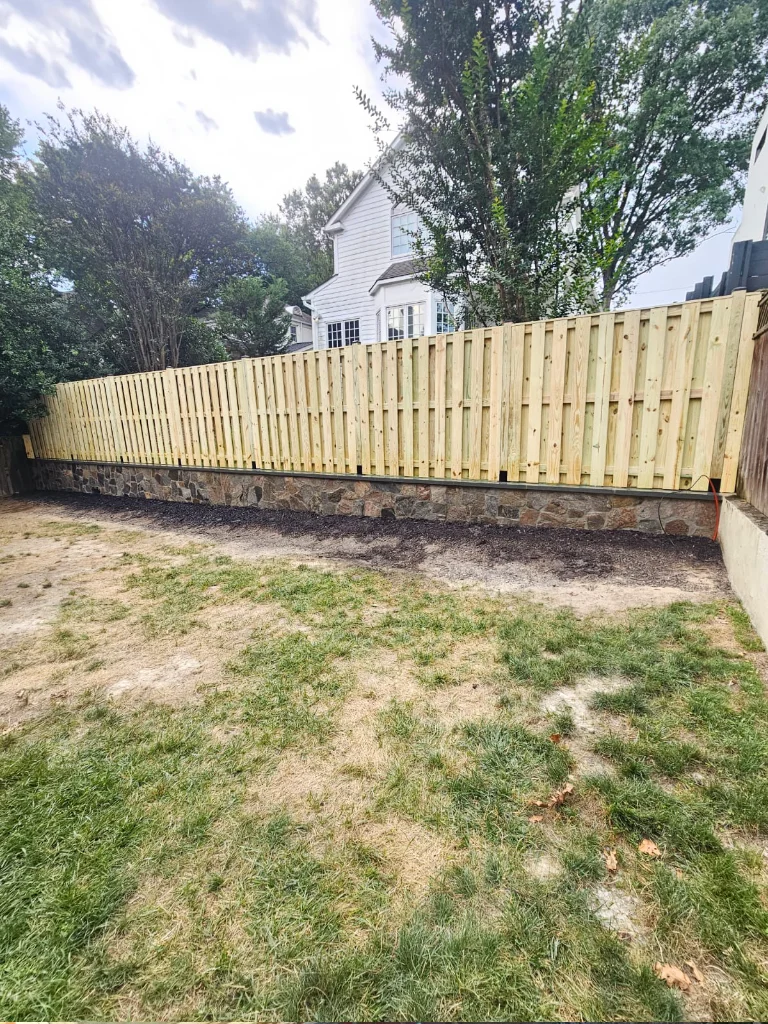
After the retaining wall was completed, we installed approximately 50 linear feet of new pressure-treated privacy fencing above the wall. The fence was designed to match the existing style on the property using vertical boards in a staggered alternating layout.
Fence posts were anchored directly into the integrated sleeves built into the wall cap, allowing the fence system to tie securely into the masonry structure below. We also added flat top trim boards and decorative black post caps to finish the installation.
All fencing components were fastened using screws instead of nails to provide better long-term holding strength and reduce future loosening over time.
Downspout and Drainage Improvements
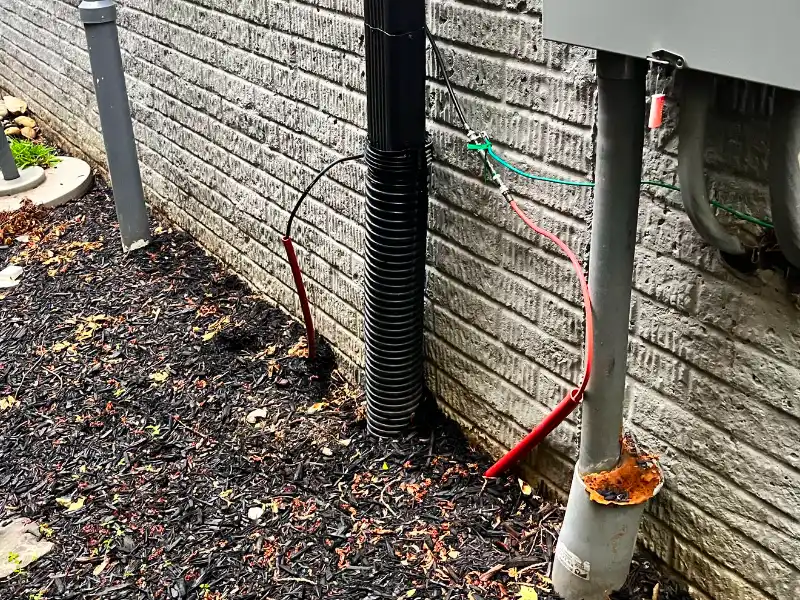
Several areas around the home had older corrugated drain connections and exposed discharge piping that the homeowner wanted cleaned up and improved.
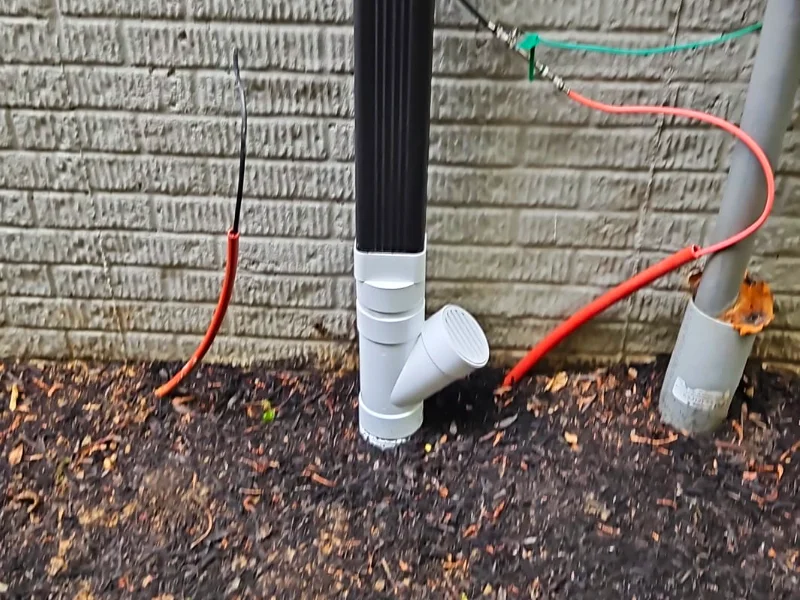
We installed new Y-connectors at five separate downspout locations to create more accessible transition points and a more uniform appearance around the house. These connectors also allow easier access to the drainage system for future maintenance if needed.
At the left side of the home, we removed an exposed corrugated extension and replaced it with a buried drain connection tied into a new matching metal downspout extension. This helped eliminate exposed piping along the side yard while improving water discharge away from the foundation.
We also excavated approximately 30 linear feet along the front side yard to install a new buried 4-inch PVC drain line connected to the existing pop-up emitter near the roadway. The new line was pitched for proper drainage flow before the trench was backfilled and restored.
Flagstone Walkway Repointing and Stone Repair
At the front entry walkway, several mortar joints had begun deteriorating, and portions of the flagstone surface had loosened over time.
We carefully removed failing mortar joints throughout the affected sections of the walkway, cleaned the stone surfaces, and reset loose flagstone where movement had occurred. After resetting the stone, we repointed the joints using fresh mortar and tooled the joints to create a cleaner finished appearance.
We also reattached a loose veneer stone near the front stair area using a full mortar bed and bonding adhesive so the repaired section would sit securely against the existing structure.