What We Did
Design, Plans, and Permitting
Before construction began, our architect ran the on-site consultation, produced stamped plans for the patio and fence, and submitted the full permitting package to the DC Department of Buildings. We handled the coordination and revisions through approval, then verified the layout with the homeowner before starting the build.
Demolition and Excavation
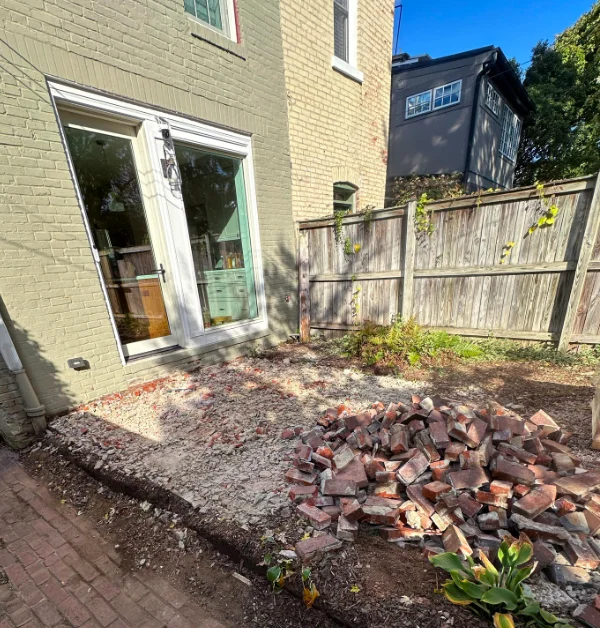
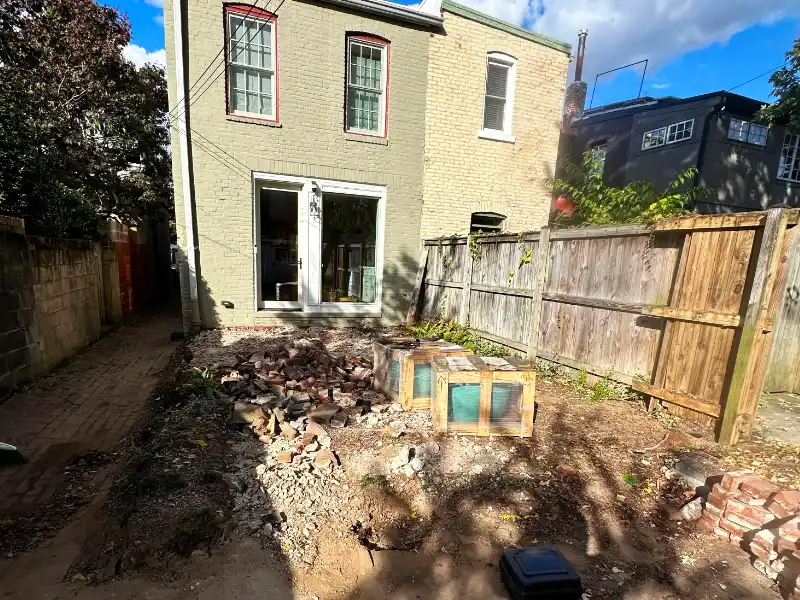
We started with a full demolition and excavation of the rear brick patio, including the old concrete curb in the back-left corner. We also salvaged the usable red brick from the existing driveway area and set it aside for the shed pad. Once the patio area was opened up, we excavated the work area to prepare for the fence posts, concrete base, drainage system, and new patio layout.
Fence Post Layout and Installation
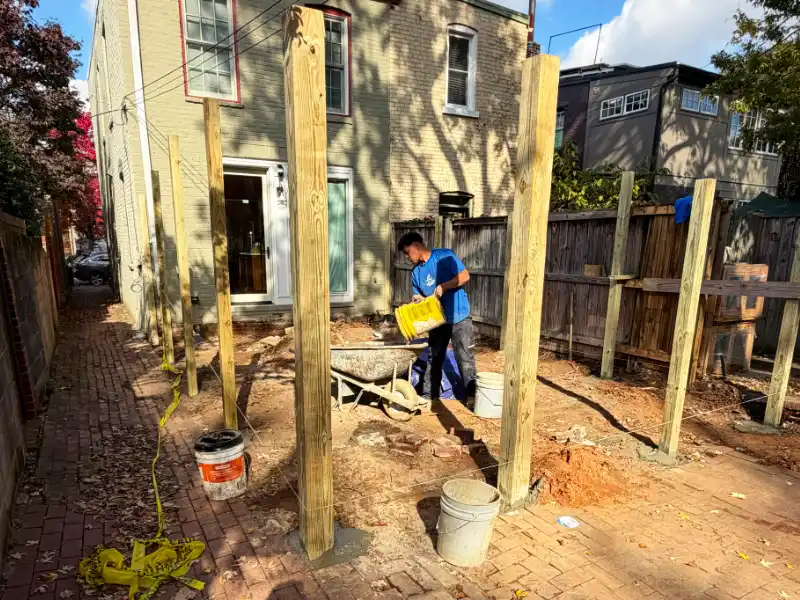
After excavating the area, we laid out the fence line and confirmed the alignment with the rear patio, step, and alley access. The fence posts were installed before the patio base so the concrete slab could be poured cleanly around the post layout.
We dug the post holes and set pressure-treated 4×4 posts 36 inches deep in concrete footings, spaced 6 to 8 feet on center. Setting the posts first helped lock in the fence alignment and gave us a fixed reference point for the patio edges, step, and gate opening.
Gravel Sub-Base and Reinforced Concrete Base
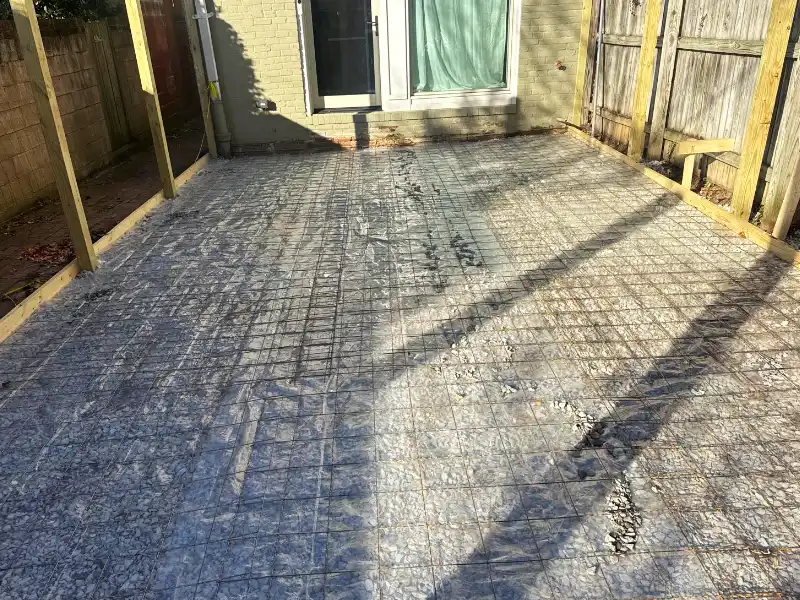
After the wooden fence posts were set, we prepared the patio base. We installed and compacted the gravel sub-base, leveled the area, and set the reinforcement layout before the concrete pour. This step created a firm, even base for the reinforced concrete slab and helped prevent weak spots beneath the finished flagstone patio.
We poured a reinforced concrete slab designed to support the flagstone patio. The rear 12-foot zone received 6 inches of 4000 PSI concrete with #3 rebar spaced every 18 inches and welded wire mesh reinforcement. The rest of the patio area received a 4-inch slab with the same reinforcement.
The slab was pitched to move water toward the yard drain and the downspout by the rear steps. This helped direct runoff away from the house and toward the planned drainage points.
Flagstone Patio and Step
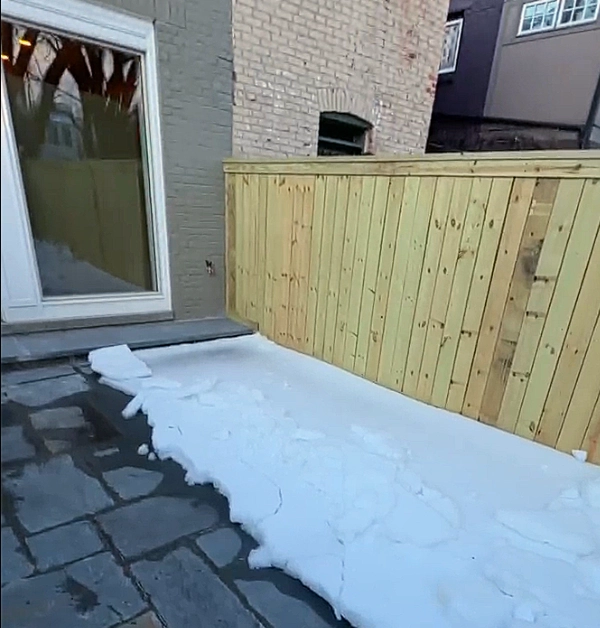
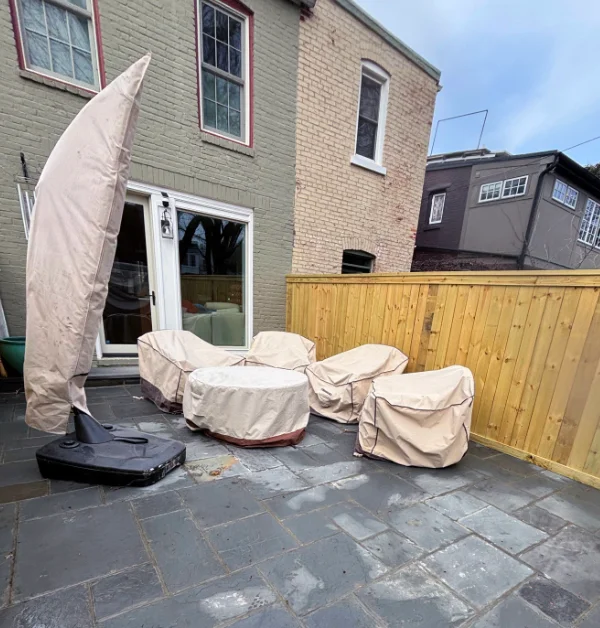
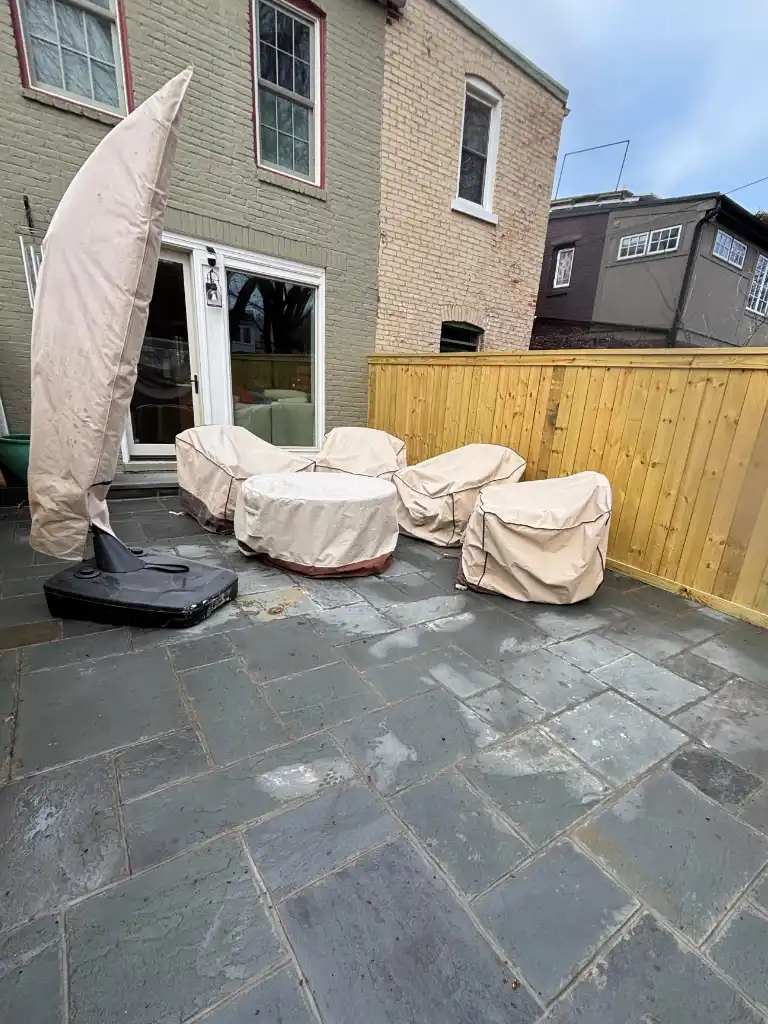
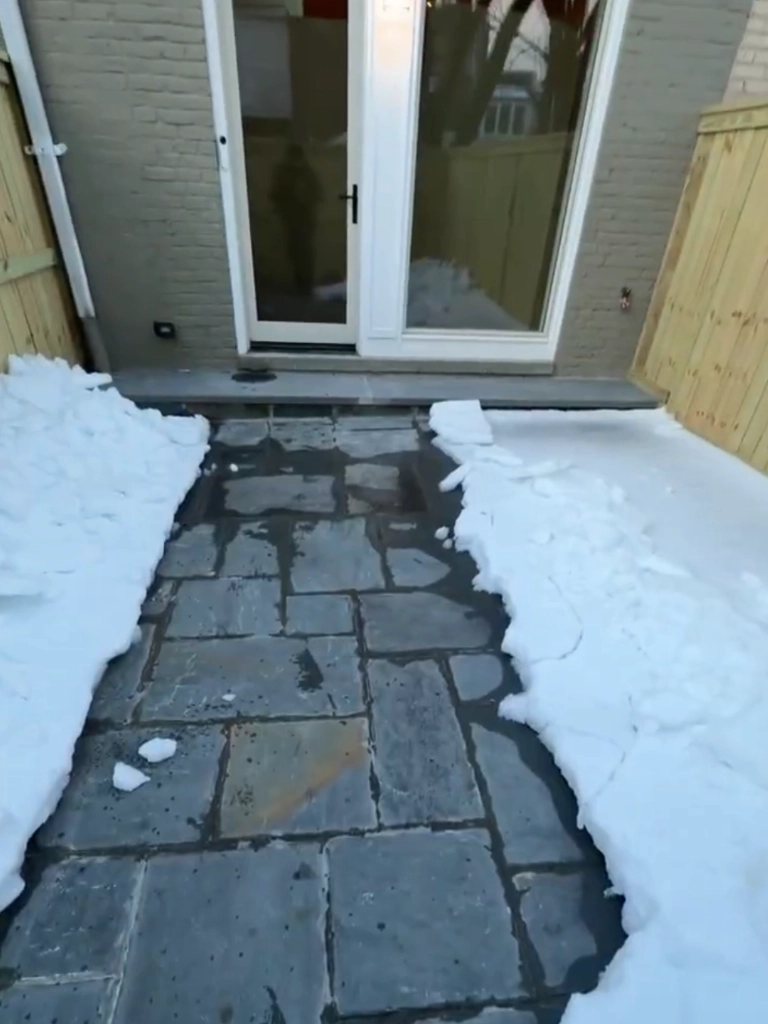
On top of the cured slab, we installed Blue Select natural flagstone in blue and gray tones, mortar-set in a rectangular pattern with tight grouted joints. Each piece was hand-cut and leveled for a clean walking surface.
We built one full-width stone step, 24 inches deep, from the same flagstone, with the seams laid out symmetrically along the center line of the house. We also poured a new concrete curb in the back-left corner and curved it to close off the patio perimeter according to the permitted plan.
The patio and step were checked with a laser level so the surface stayed consistent, drained properly, and lined up cleanly with the fence.
Retaining Walls Around the Tree
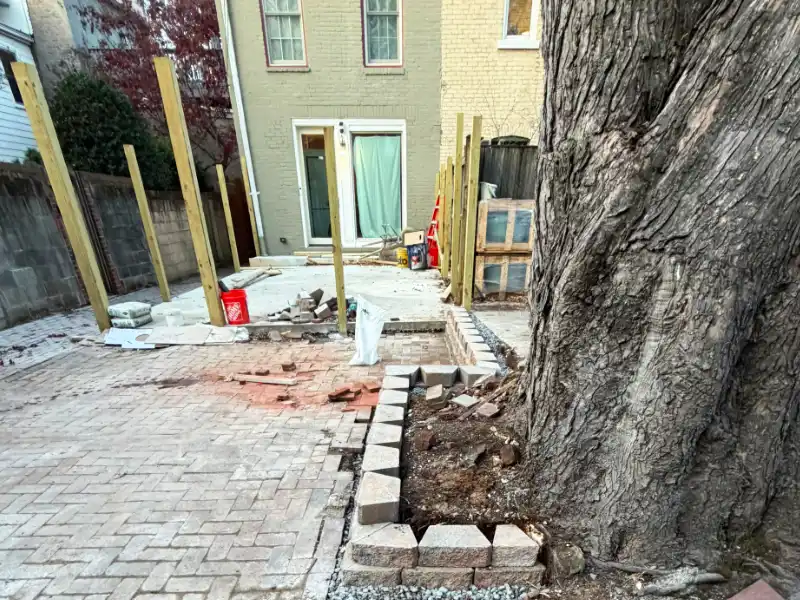
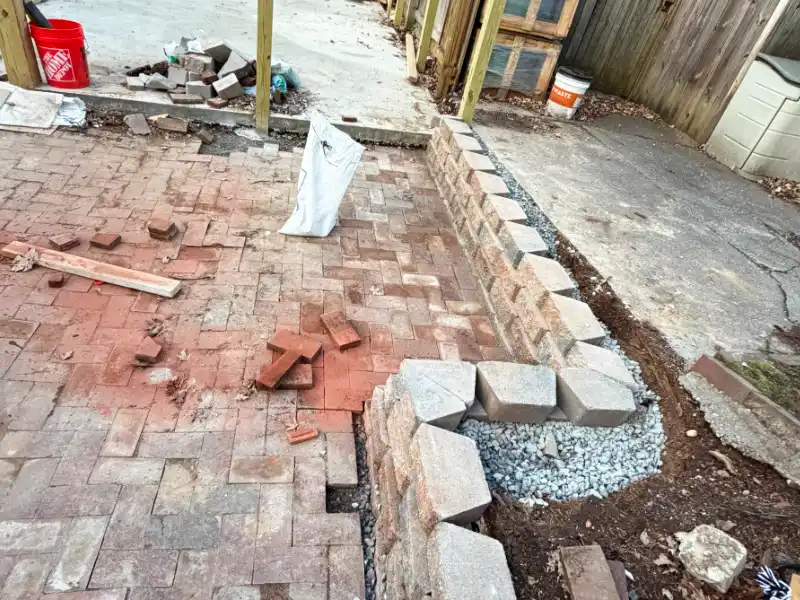
To work around the existing tree, we built stacked-stone retaining walls around its base. These walls create a raised planter bed that keeps the soil contained, helps protect the root area, and creates a clean grade break between the higher rear grade and the lower patio area.
We packed crushed stone behind the walls for drainage so water can move through the system instead of building up and pushing against the wall.
Southern Pine Privacy Fence and Gate
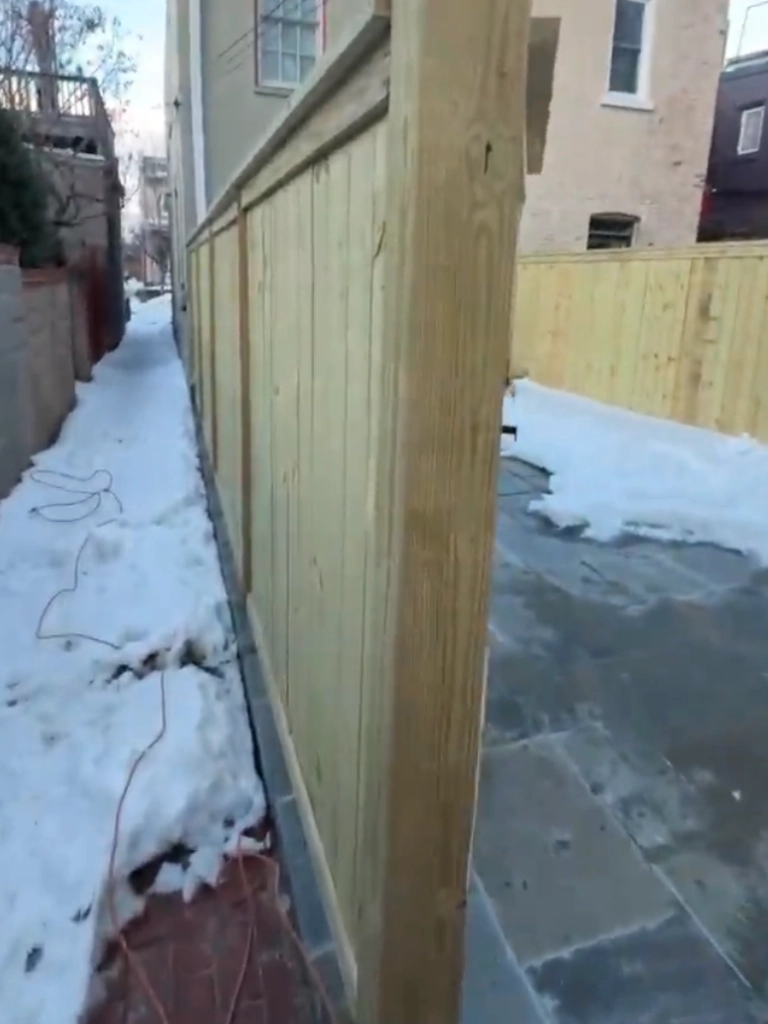
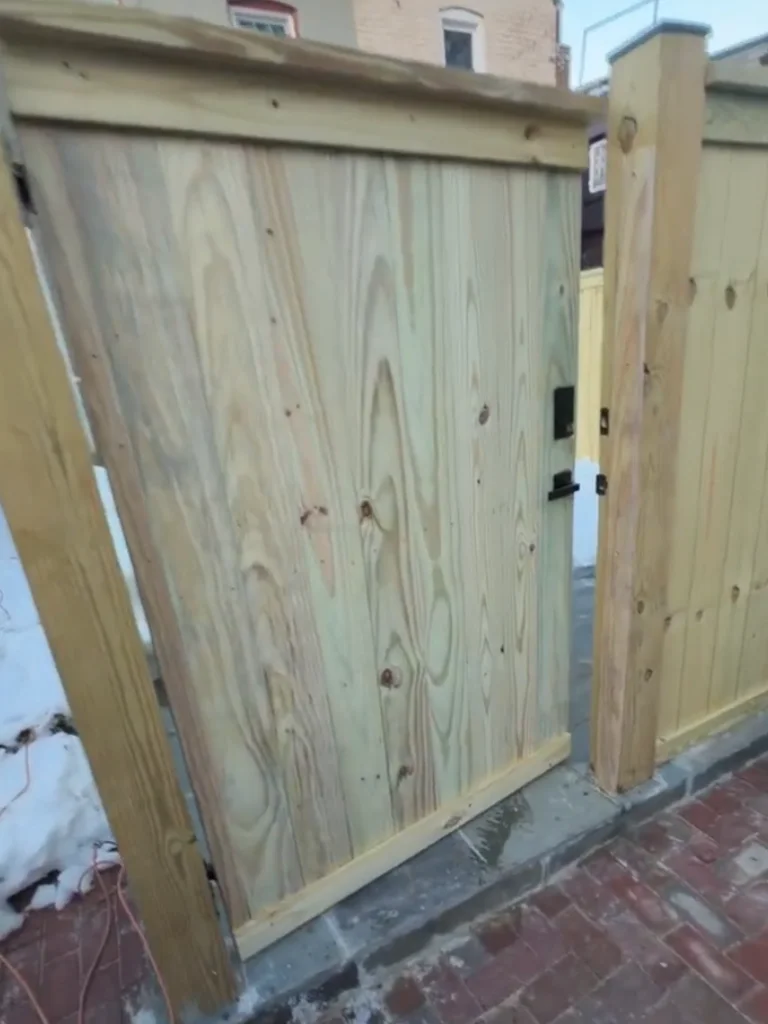
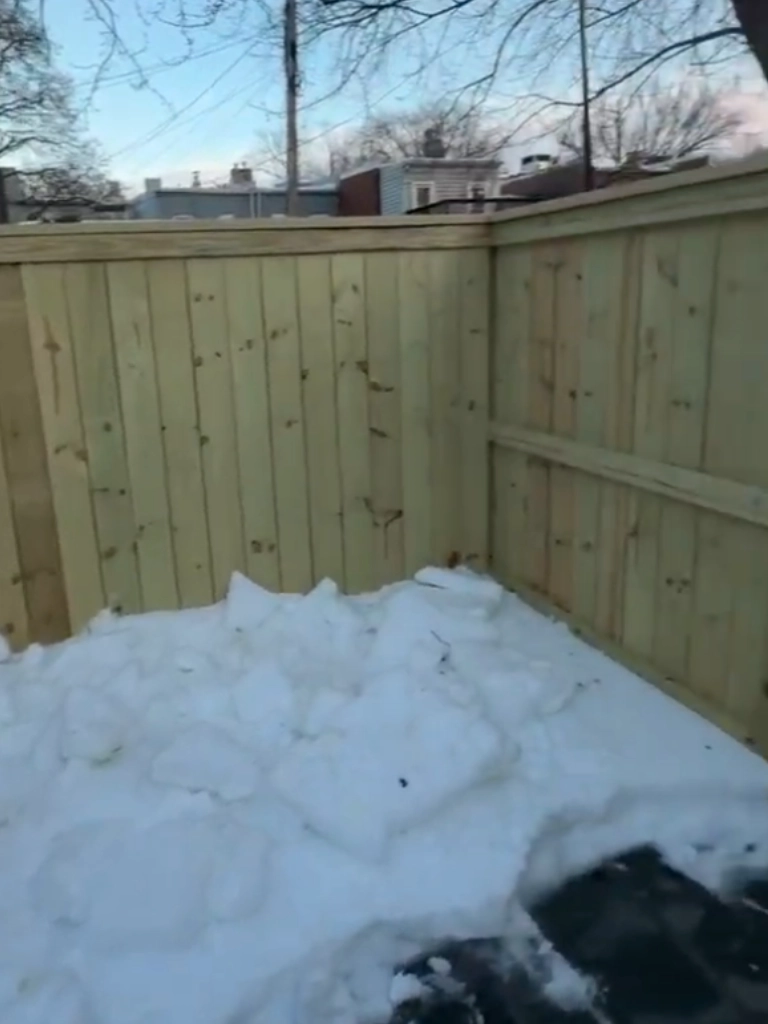
With the foundation already set, we framed the fence with pressure-treated 2×4 stringers at the top, middle, and bottom. We then installed roughly 65 linear feet of 6-foot vertical fencing using 1×6 Southern Yellow Pine boards set tight side by side.
We used coated and stainless fasteners throughout for durability. The fence line was set to level lines and aligned with the rear patio and step so the top line looks straight and even from the house.
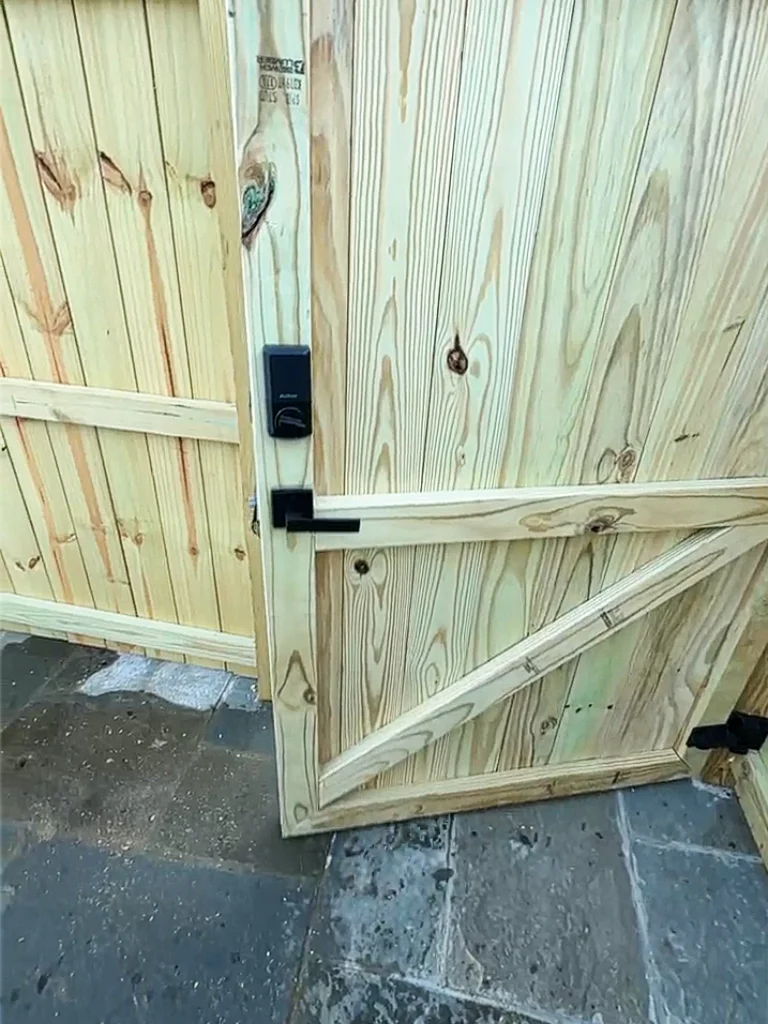
The 48-inch rear gate matches the fence in profile and height and opens to the brick alley. It includes an electronic keypad deadbolt with key access, giving the homeowner secure alley entry by code or by key.
Brick Shed Pad
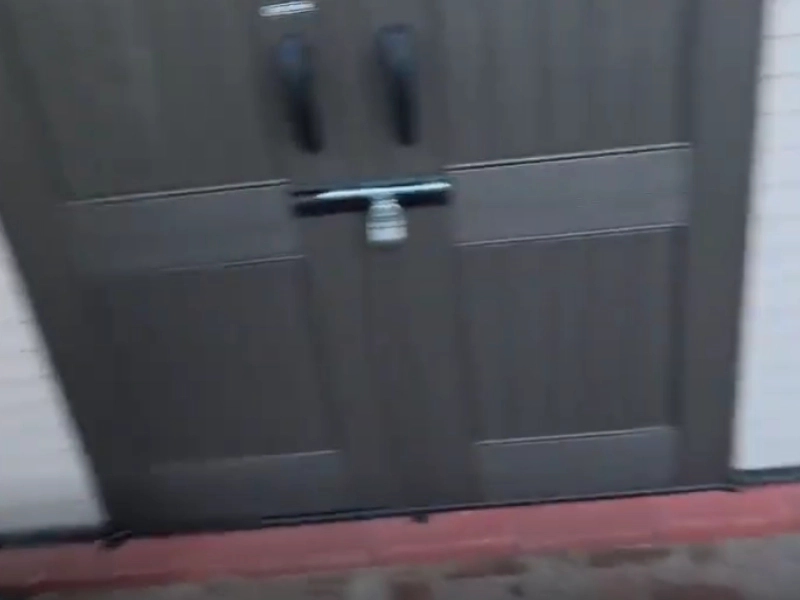
Along the rear left fence line, we prepared a 10 by 8 foot pad for a future shed. We excavated the area, laid a compacted crushed gravel base and sand bedding layer, then set the salvaged driveway brick in a pattern that matched the original yard. The pad was graded and compacted to give the future shed a level, stable base. The shed itself was added later by the homeowner.