What We Did
Driveway Demolition & Excavation
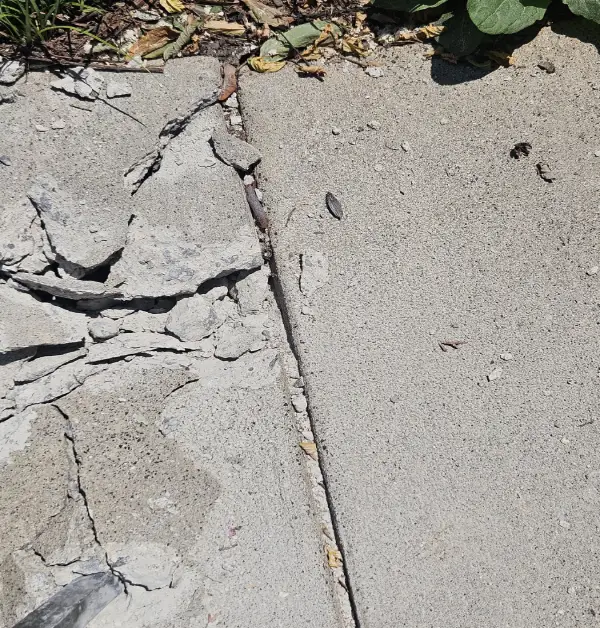
Before installation, we saw-cut the existing concrete so only the planned driveway panels would be removed. The damaged sections were broken out, excavated, and hauled off-site for disposal. Once the old concrete was removed, the underlying base material was excavated to the planned subgrade depth.
Site Preparation & Rebar Reinforcement
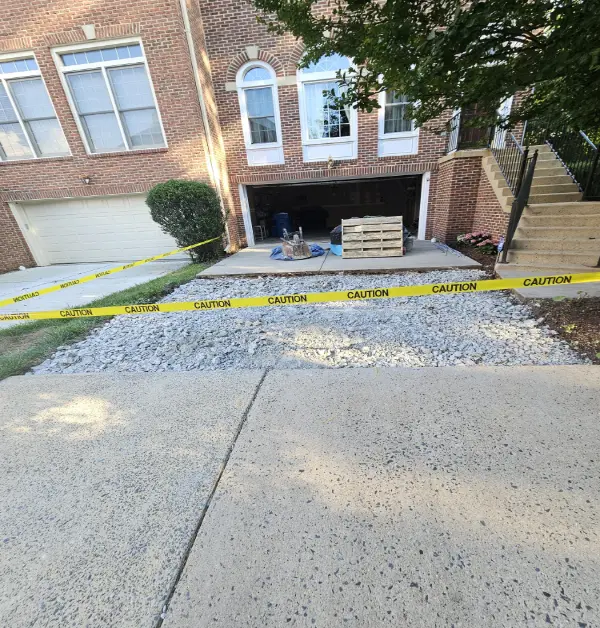
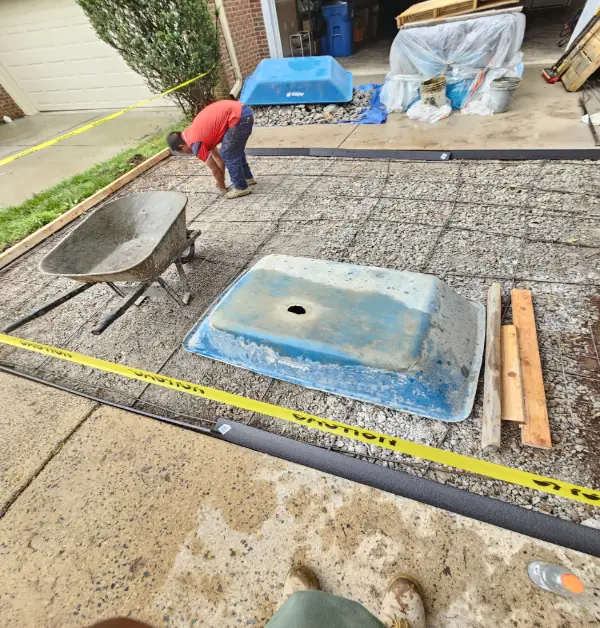
We prepared the driveway base with ¾-inch CR-6 gravel aggregate. The sub-base was regraded and compacted with a vibratory plate compactor to create a stable surface for the new pour. This gave the new concrete a cleaner, stronger base instead of placing it on weaker materials.
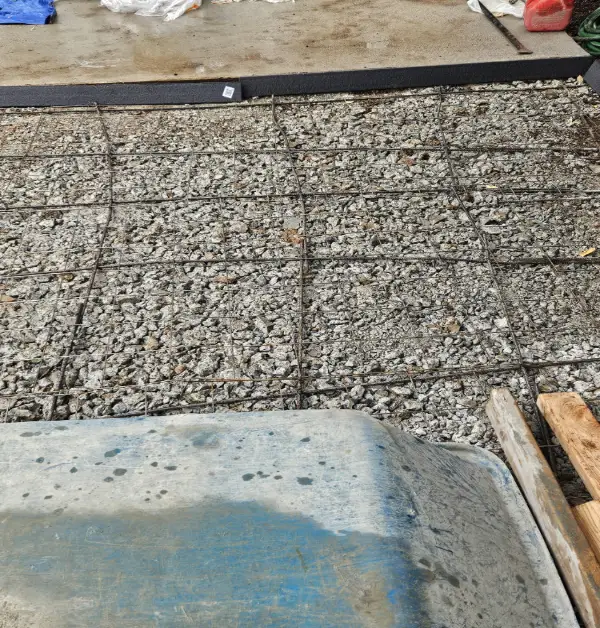
Next, we installed reinforcement across the work area, laying 3/8″ rebar in a grid spaced 18 inches apart and adding 6×6 welded wire mesh to help distribute the load. This makes the driveway more durable under the constant weight and movement of vehicles.
Concrete Pour & Finish
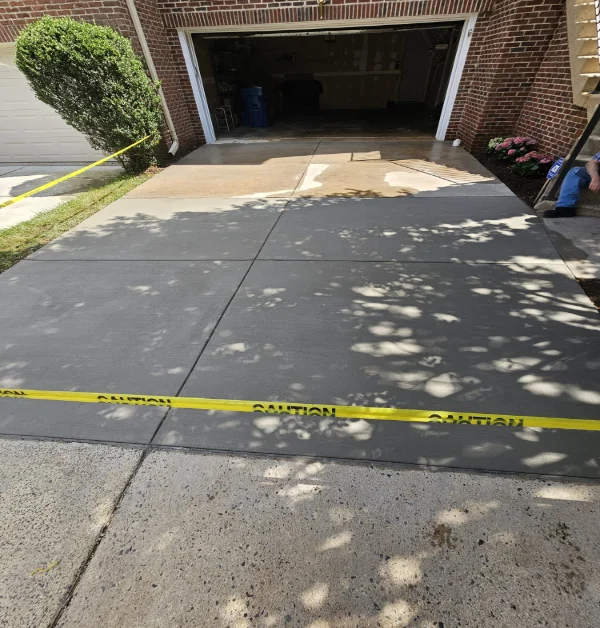
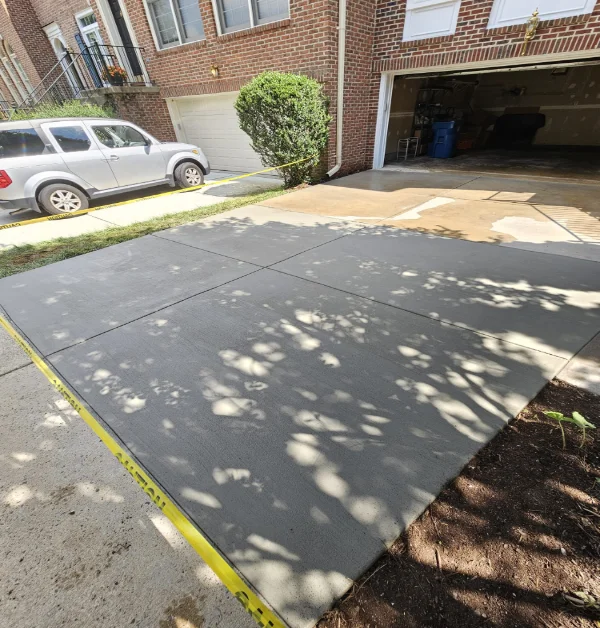
After the base and reinforcement were ready, we poured 6-inch-thick, 3,500 PSI fiber-reinforced concrete across the replacement sections. The fiber reinforcement and added thickness gave the driveway extra durability and help resist cracking under the weight of vehicles. New expansion joints, flexible joint filler, and control cuts were added between the driveway panels to match the existing layout.
The concrete was edged and trowel-finished along the borders for clean transitions to the sidewalk, apron, and adjacent panels. A broom brush finish was applied perpendicular to the driveway slope to improve traction while keeping a traditional residential driveway look.
Curing & Protection
After the concrete was finished, we performed a light grade and cleanup around the adjacent surfaces. We also applied curing compound to help protect the new concrete as it set.
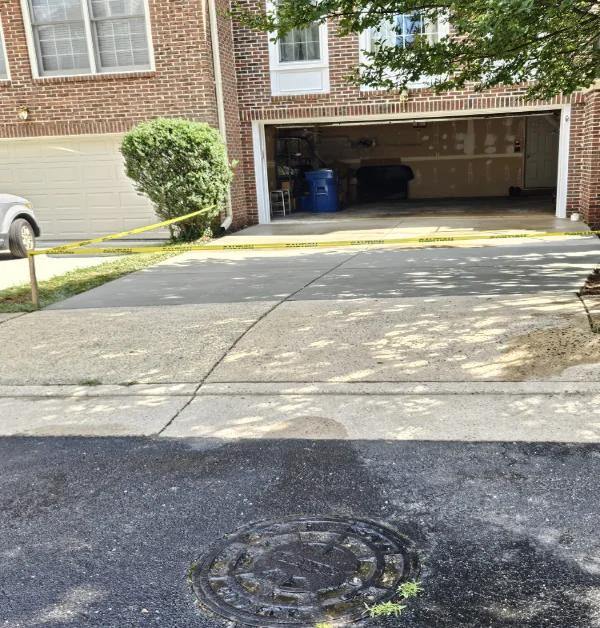
Protective tape and barriers were installed around the work area to keep vehicles off the new driveway sections during the curing period. This helped protect the fresh concrete from early traffic and surface damage.