What We Did
Planning, Permits, and Demolition
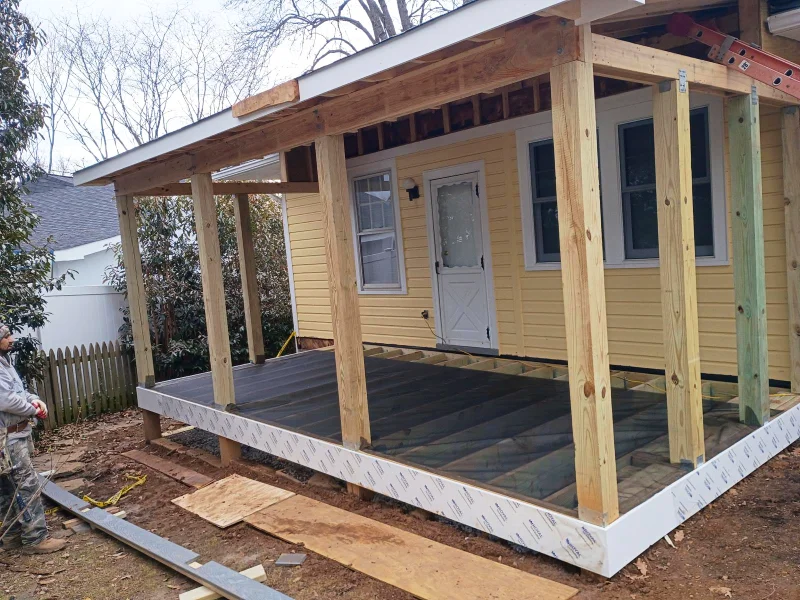
Before installation, our licensed architect and structural engineer prepared the porch plans, including the footing schedule, framing details, roof tie-in, screen layout, and door placement. Once the homeowner approved the design, we submitted the plans to Montgomery County for permits and managed the inspection process.
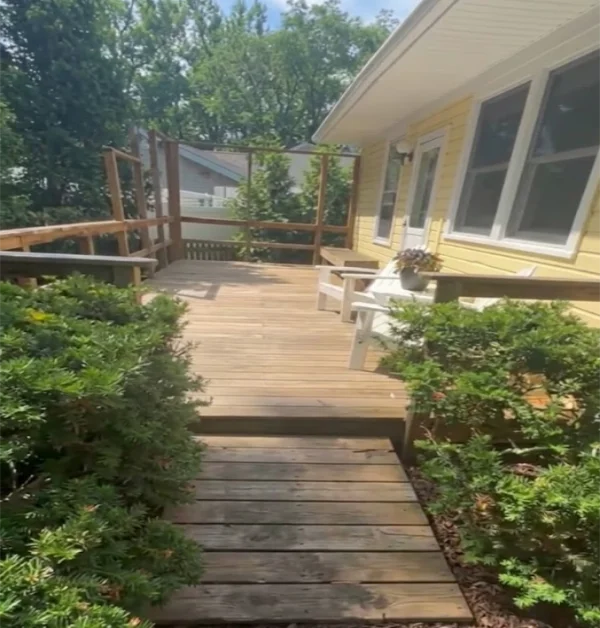
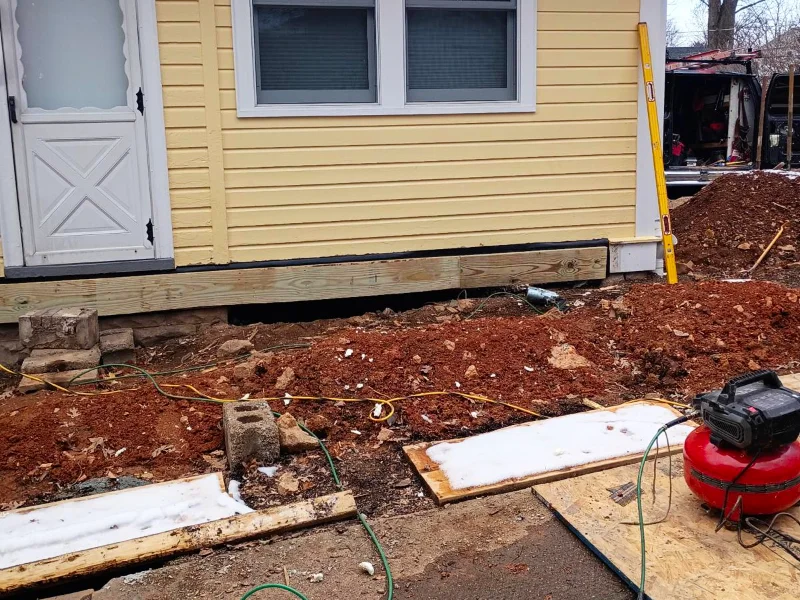
After approvals, we removed the existing wood deck, hauled away the old framing, decking, and concrete footings, and prepared the site for the new porch structure.
Structural Porch Build
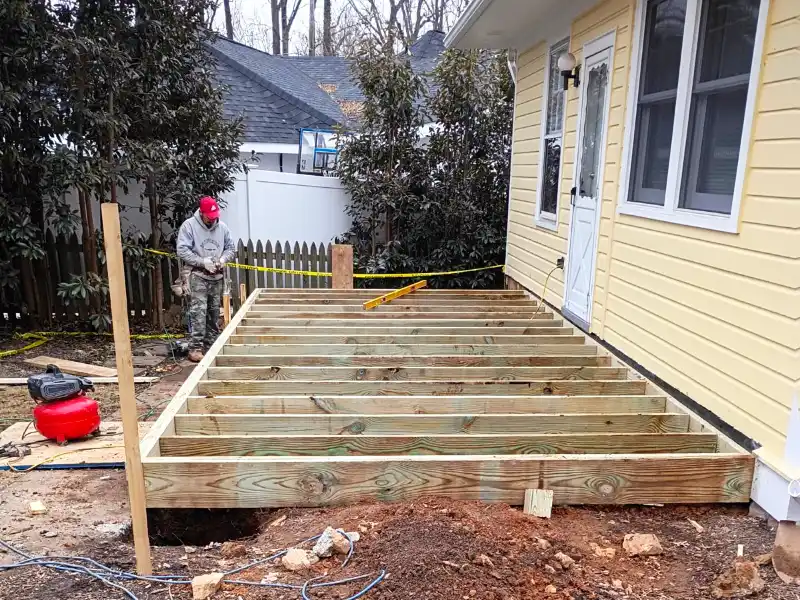
During installation, we poured new reinforced concrete footings 36 inches deep, with each footing sized based on the structural load at that post location. Pressure-treated 6×6 posts were installed on Simpson post bases, then the main porch framing was built with PT joists, double rim joists, lateral bracing, and a properly flashed ledger board tied into the house.
We finished the floor system with Trex composite decking, hidden fasteners, and white Trex Shoreline fascia for a clean finished edge.
Roof, Screens, and Finish Work
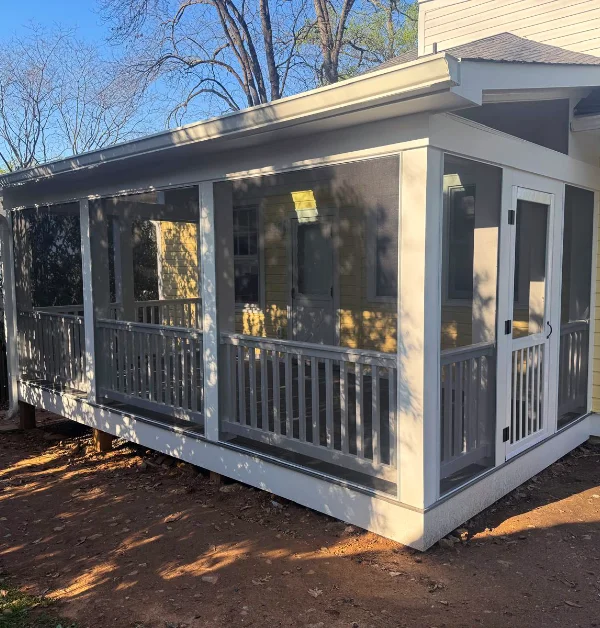
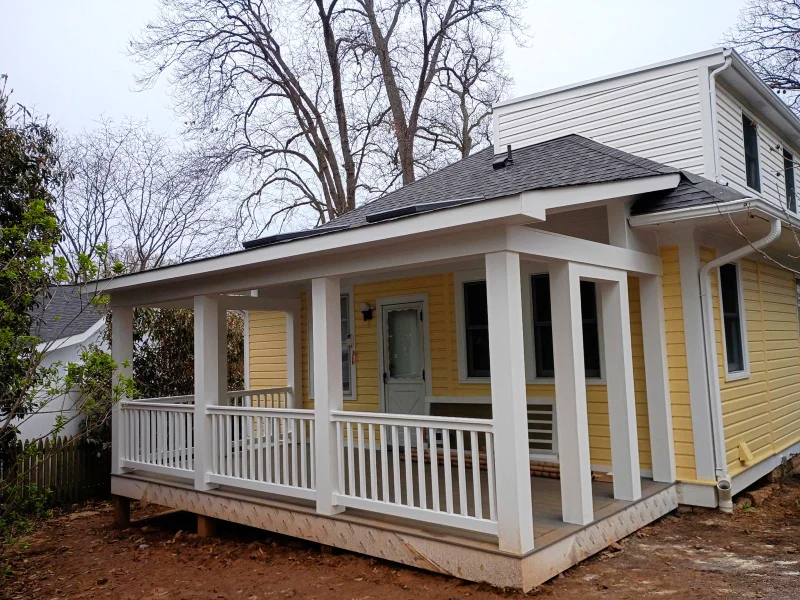
The new roof was framed to the engineer’s specifications, tied into the existing house, weatherproofed, and finished with architectural shingles to match the home. We also installed gutters and downspouts to move roof runoff away from the porch area.
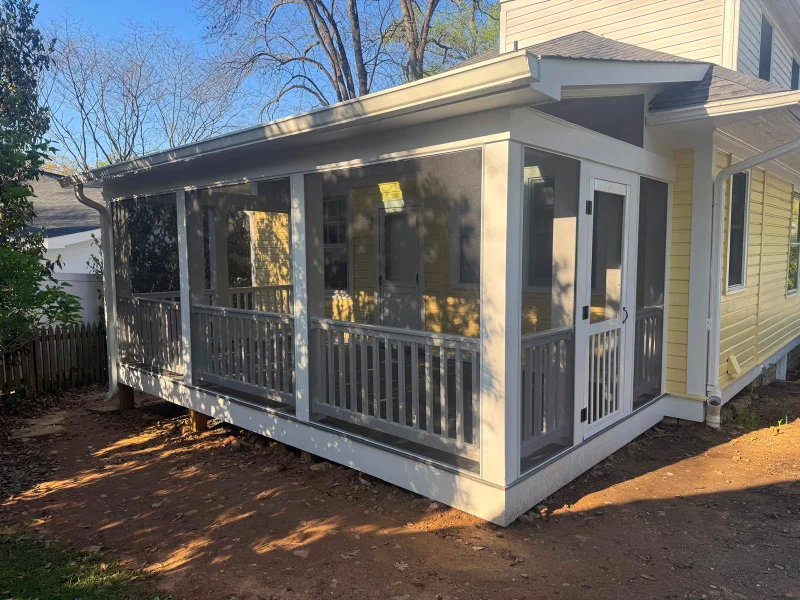
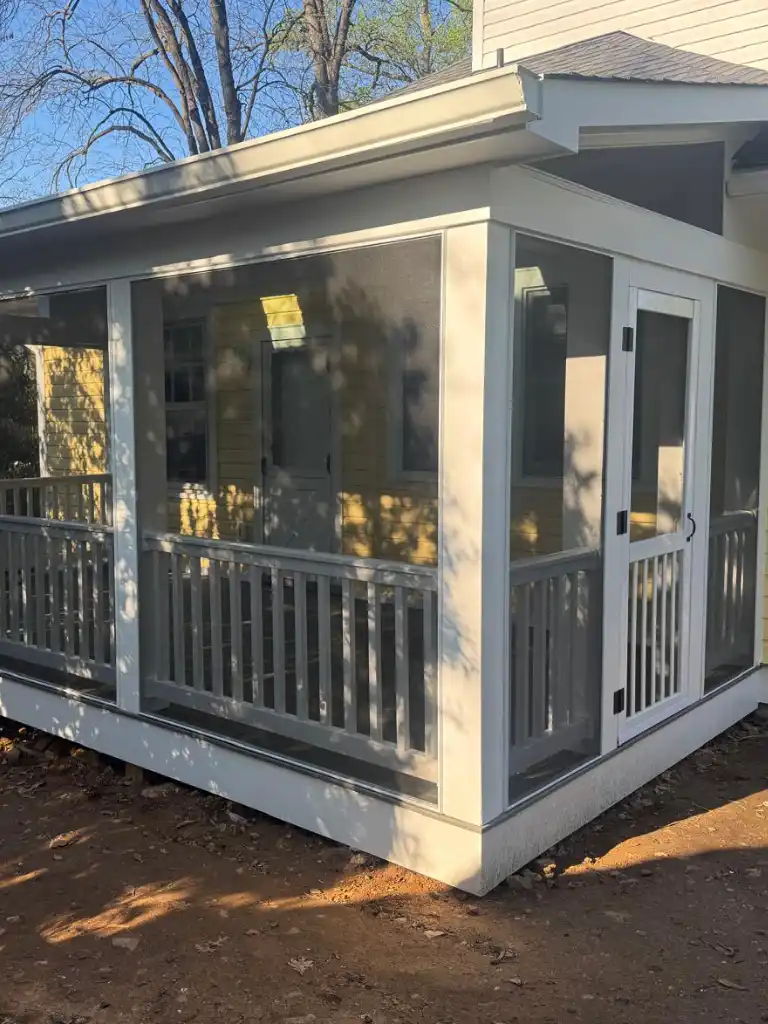
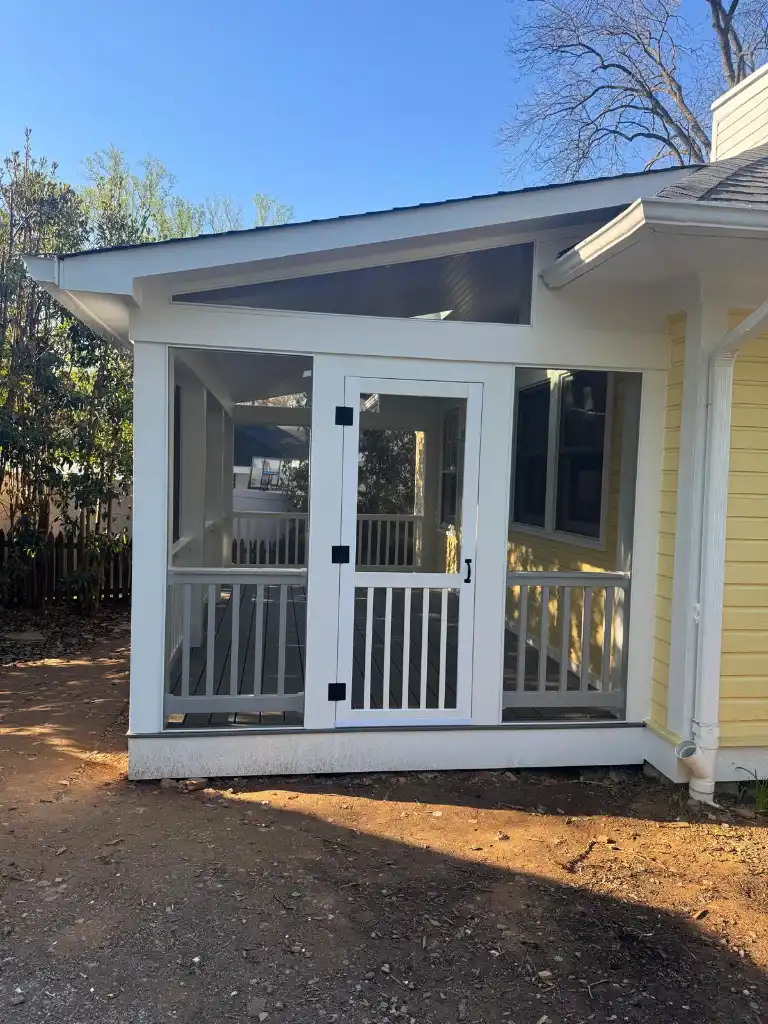
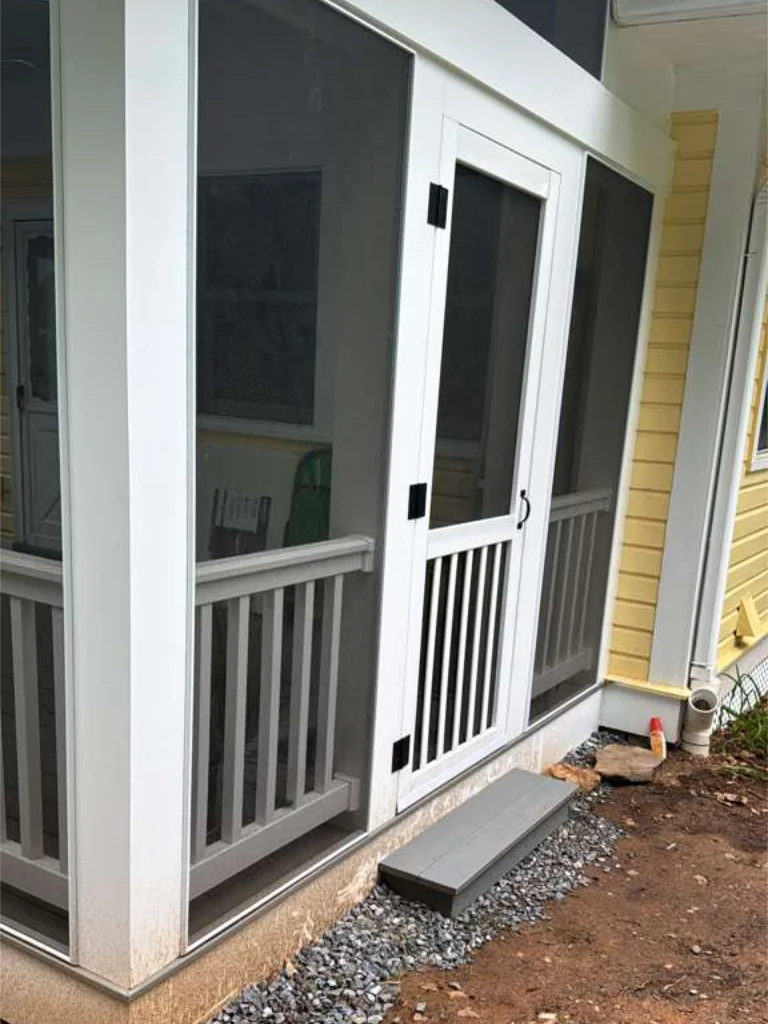
For the screened enclosure, we built the vertical porch structure with PVC-wrapped posts, horizontal blocking, cap rails, and a white PVC railing system with code-compliant baluster spacing. The screen mesh was installed behind the railing to help protect it from daily contact.
Electrical Wiring and Skylights
We installed the aluminum screen door, staircase, and landing to create a finished access point into the porch. Because one side of the porch sat several feet above grade, we added buried galvanized mesh and finished skirting with an access panel to help keep animals out while allowing future maintenance.
Our electrician added a GFCI-protected outlet and wiring for two ceiling fans. As an add-on, we framed and installed two VELUX skylights with proper flashing and weatherproofing before cleaning the site and walking the homeowner through the finished porch.