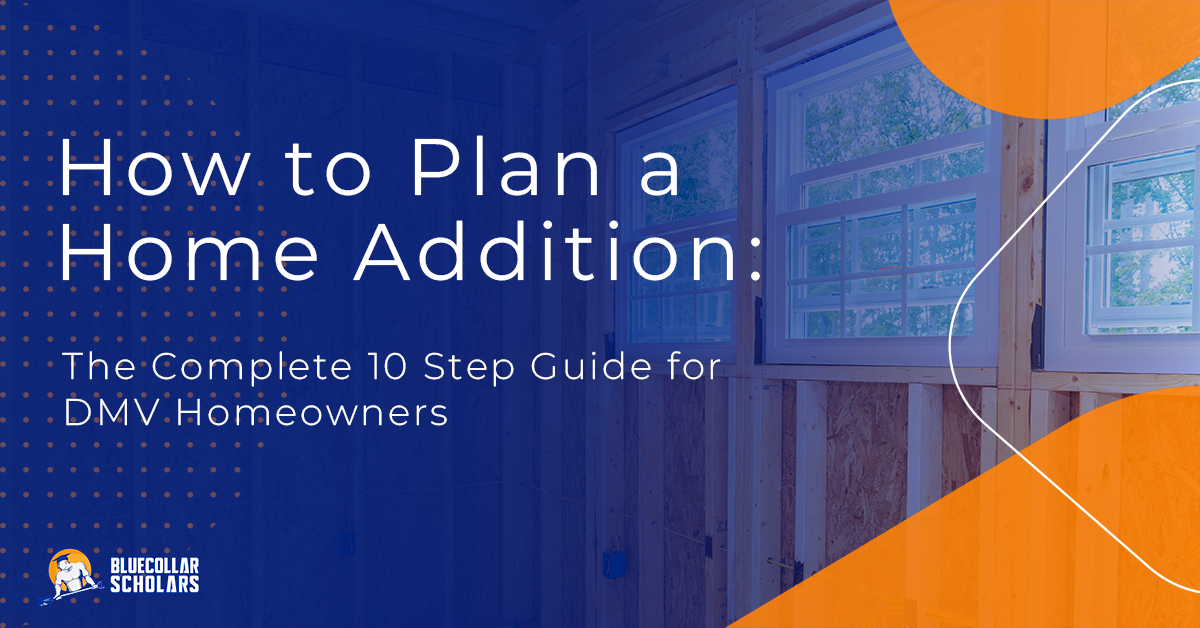
In Maryland, winter weather can cause significant damage to your home. According to recent surveys, over 60% of homeowners struggle with property damage from winter conditions. Your screened-in porch is particularly vulnerable to winter’s harsh elements without proper protection.
This comprehensive guide will walk you through effective methods to winterize your screened-in porch, helping you protect your investment and potentially extend your enjoyment of this space throughout the colder months.
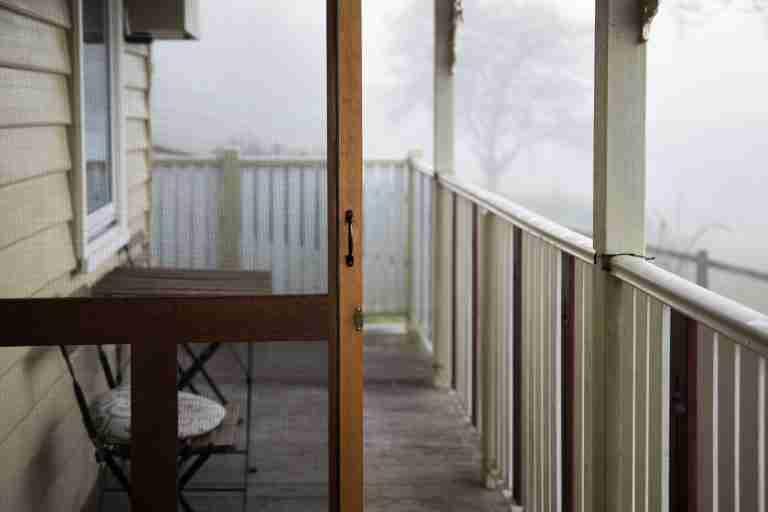
Why Winterize Your Screened-in Porch?
Winterizing your screened-in porch offers multiple benefits beyond just basic protection:
- Prevents structural damage from snow, ice, and freezing temperatures
- Extends the usability of your porch into the colder seasons
- Protects your porch furniture and accessories from moisture damage
- Reduces maintenance needs when spring arrives
- Adds value to your home by creating a multi-season living space
Without proper winterization, your porch screens, flooring, and framework can deteriorate more quickly, leading to costly repairs once warmer weather returns.
When to Start Winterizing Your Screened-in Porch
In Maryland, the ideal time to begin winterizing your screened-in porch is in early fall, typically by late September or early October. This timeline gives you ample opportunity to prepare before the first frost arrives.
Starting early allows time for:
- Gathering all necessary materials
- Completing multiple winterization methods if desired
- Professional installation if you choose that route
- Testing heating systems before they’re critically needed
The average first frost in Maryland occurs between mid-October and early November, making early fall the perfect window for winterization.
Step 1: Clean and Prepare Your Porch
Before applying any winterization methods, thoroughly clean your screened-in porch:
- Remove all debris from the porch floor, corners, and screening
- Clean the screens using a soft brush and mild detergent
- Inspect wooden components for signs of mold or rot
- Clean windows thoroughly if your porch has them
- Remove or cover furniture that could be damaged by cold weather
Pay special attention to cleaning the trim around your screens, as this is where you’ll be attaching most winterization materials. Any dirt or debris can prevent proper adhesion of weatherproofing materials.
Step 2: Insulation Options for Your Screened Porch
Method 1: Vinyl Sheeting Installation
Vinyl sheeting is one of the most effective and affordable ways to winterize your screened-in porch. This clear plastic material creates a barrier against cold air while still allowing light to enter.
Materials needed:
- Heavy-duty clear vinyl sheeting (6-10 mil thickness recommended)
- Velcro tape or strips
- Measuring tape
- Utility knife or scissors
- Cleaning supplies
Installation steps:
- Measure each screened section precisely
- Cut vinyl sheeting to size (add 2-3 inches on each side for overlap)
- Clean the framework around screens thoroughly
- Apply Velcro tape to the framework
- Attach vinyl sheeting to the Velcro, pulling taut to eliminate wrinkles
- Secure all edges completely to prevent drafts
Method 2: Vinyl Curtains for Easy Access
Vinyl curtains offer the advantage of being easily opened on milder days while providing protection when needed.
Materials needed:
- Clear vinyl curtain material
- Tension rods or curtain hardware
- Grommets (if needed)
- Measuring tape
- Scissors
Installation steps:
- Measure the height and width of each screened section
- Install curtain rods above each section
- Hang vinyl curtains using rings or grommets
- Ensure curtains can be securely closed against drafts
This method allows for greater flexibility but may not seal as completely as fixed vinyl sheeting.
Method 3: Acrylic or Vinyl Panels
For a more permanent and attractive solution, consider installing acrylic or vinyl panels. These create a true three-season room effect and can be removed and stored during summer.
Materials needed:
- Acrylic or vinyl panels cut to size
- Mounting hardware
- Weather stripping
- Drill and screws
Installation steps:
- Measure screen openings precisely
- Order custom-cut panels or cut them yourself
- Install mounting brackets around frame
- Add weather stripping for insulation
- Secure panels in place with appropriate hardware
Method 4: Converting to a Three-Season Room
For the ultimate winterization, consider converting your screened porch into a three-season room. This involves installing proper windows, insulation, and sometimes additional heating.
This method:
- Provides the most weather protection
- Creates a truly usable winter space
- Adds significant value to your home
- Requires professional installation in most cases
While this is the most expensive option, it transforms your seasonal porch into a year-round living space.
Step 3: Heating Options for Winter Use
If you plan to use your screened-in porch during winter, you’ll need a heating solution.
Space Heaters
Space heaters provide targeted, flexible heating. When selecting one:
- Choose models rated for outdoor or semi-outdoor use
- Look for tip-over protection safety features
- Consider energy efficiency ratings
- Ensure proper sizing for your space (generally 10W per square foot)
Always follow manufacturer safety guidelines and never leave heaters unattended.
Fireplace Options
A fireplace adds both warmth and ambiance to your winterized porch. Options include:
- Electric fireplaces: Safe, clean, and require no venting
- Gas fireplaces: Provide significant heat but require proper venting
- Ethanol fireplaces: Ventless and relatively clean-burning
Learn more about adding a fireplace to your screened-in porch in our detailed guide.
Heating Safety Considerations
When heating a winterized porch:
- Ensure adequate ventilation for any combustion appliance
- Keep flammable materials away from heat sources
- Install carbon monoxide detectors if using gas appliances
- Use outdoor-rated extension cords for electric heaters
- Turn off all heating when the space is unoccupied
Step 4: Weatherproofing Tips
Beyond the main winterization methods, these additional weatherproofing steps will enhance protection:
Seal Cracks and Gaps
Inspect your porch for any small openings where cold air might enter:
- Apply silicone caulk around window frames
- Seal gaps between floorboards if present
- Address any cracks in walls or ceiling
- Check door frames for gaps
Add Weather Stripping
For porch doors or any openings that need to remain functional:
- Install weather stripping around door frames
- Add door sweeps to the bottom of doors
- Consider draft stoppers for additional protection
Protect Flooring
Porch flooring can be particularly vulnerable to moisture damage:
- Apply water-resistant sealant to wooden floors
- Add outdoor-rated area rugs for insulation
- Ensure proper drainage away from the porch
Step 5: Protecting Porch Furniture
Properly care for your porch furniture during winter:
- Remove cushions and fabric items to store indoors
- Cover remaining furniture with waterproof furniture covers
- Elevate wooden furniture off the floor using furniture risers
- Apply protective sealants to wooden furniture before winter
- Consider storing valuable pieces indoors completely
Professional Winterization Services
For many Maryland homeowners, professional winterization services offer convenience and expertise. At Blue Collar Scholars, we provide:
- Expert assessment of your porch’s winterization needs
- Professional installation of all winterization methods
- Guaranteed weather-tight results
- Maintenance throughout the winter season
- Spring removal and storage of winterization materials
Our professional touch ensures your porch remains protected throughout the harshest Maryland winters.
Talk to the Professionals
You might not have the time or energy to winterize your porch yourself. Luckily, Blue Collar Scholars can help with professional winterization services.
While you’re at it, ensure the rest of your home is prepared for winter. Ask about our winter landscaping services for your yard. You can also hire our snow removal services to limit winter damage.
Conclusion: Enjoy Your Porch Year-Round
Now that you know how to winterize a screened-in porch, you can protect your investment and potentially gain additional living space during the colder months. The right combination of insulation, heating, and weatherproofing can transform your seasonal retreat into a year-round oasis.
Maryland winters don’t have to mean abandoning your beloved porch space. With these winterization techniques, you can continue enjoying outdoor views from the comfort of a protected, warm environment.
Ready to winterize your screened-in porch professionally? Contact Blue Collar Scholars for a free quote today!
Frequently Asked Questions About Winterizing a Screened Porch
Can I still use my screened porch in winter after winterizing? Yes! With proper insulation and heating, your winterized porch can become a comfortable space even during cold weather.
How long does it take to winterize a screened porch? DIY methods like vinyl sheeting or curtains can be completed in a weekend. Professional installations may take 2-5 days depending on complexity.
Do I need to remove the winterization materials in spring? For temporary methods like vinyl sheeting, yes. For permanent solutions like three-season room conversions, no removal is necessary.
Can I winterize just part of my screened porch? Yes, you can winterize only certain sections if you prefer, though full winterization provides the best protection.